Forage preparation

Today I was in the forage laboratory sorting and preparing forages by the farm ID and grass mixture.
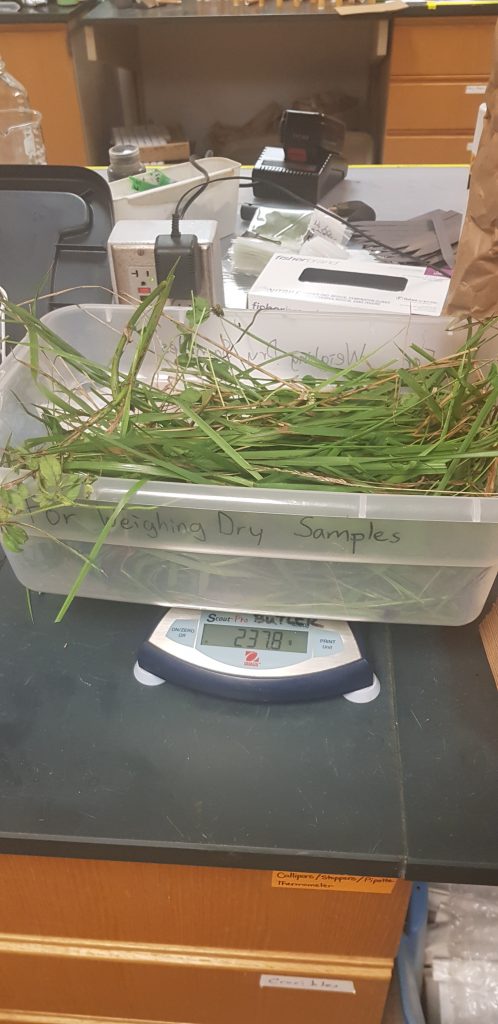
1 – Forage was placed on a a scale and weight was taken
2 – Roughly half of this was then removed and placed into its original bag
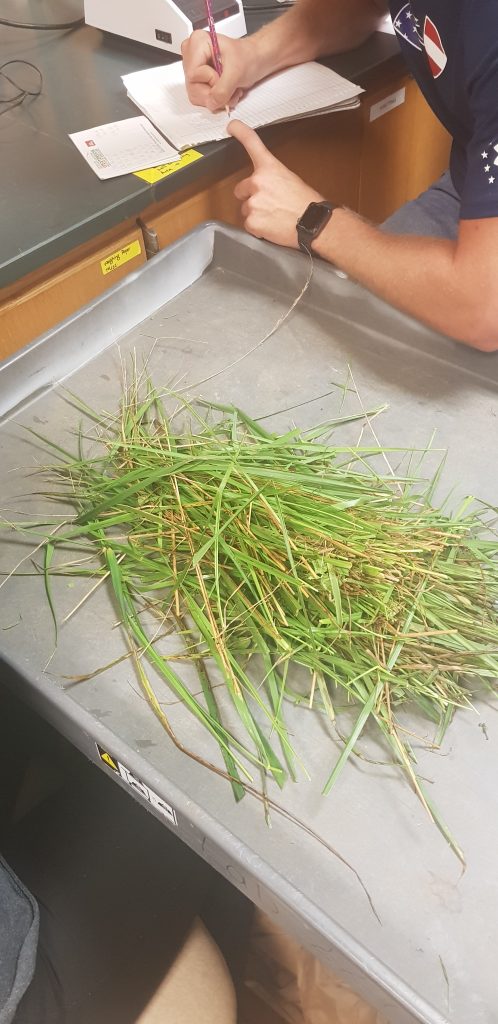
3 – The remaining half was then separated in accordance to the plot it was taken from and the mixture sown in the plot.
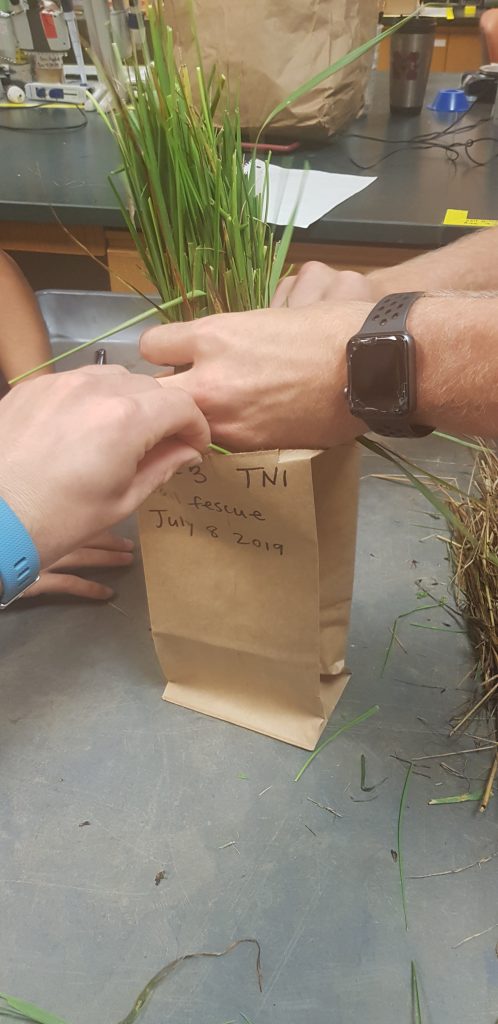
4 – If the mixture was specifically tall fescue and red clover only them species were collected and placed in individual bags and labelled ‘tall fescue’ and ‘red clover’. Any other forage species within the mixture were placed in one bag and labelled ‘weeds’.
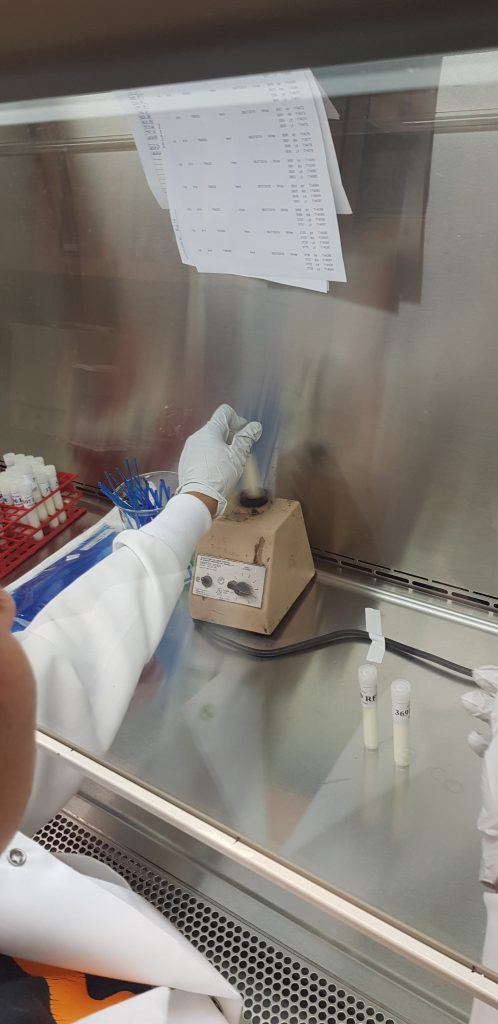
5 – All bags were then placed in incubators at 45 degrees for 48 hours. In the coming days these forages will be grinded and results obtained.

Weighing forage samples
Separating the forages required and not required
Placing required forages in labelled bags
Placing all bags in incubators at 45 degrees for 48 hours

Milk Culturing

  1. Before plating, clean inside the hood (protective incubator) with Bac Down and wipe down. Spray with alcohol and wait to dry.
  2. Place vortex, loop sticks and empty jar in the hood
  3. Milk samples were thawed out and the tubes were placed on a vortex to shake up the contents .
  4. Each plate was split into 4 sections which correlated with each teat.
  5. Moving counter clockwise on the plate and using a separate loop stick for each milk sample, in a swift movement, swipe milk sample onto its identified section.
  6. Plates are placed in incubators for 24 hours. When revisiting plates if there two types of growth (bacteria) it identifies infection.  
Milk tubes are placed on vortex which shake up the contents
Using the a loop stick, dip into milk tube
Smear loop stick onto plate in a swift motion